[コピペ] 完全でシンプルなページネーションの実装方法
ブログの記事一覧ページや、ページ分割されたコンテンツなどでよく見る、複数のページを行き来するためのページネーション・ページ送りをどのように実装していますか?
今回は、ポップオーバーAPI と CSSアンカーポジショニング を使用した、完全でシンプルなページネーションの実装方法を紹介します。HTML と CSS と PHP のコードをコピペしてお使いください。
ページネーションの HTML
PHP などのプログラム・スクリプトによって出力されるページネーションの HTMLコード です。
<!-- https://example.com/ -->
<!-- (1) 2 3 4 5 … 9 -->
<nav class="_pagination" aria-label="ページ送り">
<p>
<a href="https://example.com/" aria-label="現在のページ" aria-current="page">1</a>
<a href="https://example.com/?page=2" aria-label="次のページ">2</a>
<a href="https://example.com/?page=3">3</a>
<a href="https://example.com/?page=4">4</a>
<a href="https://example.com/?page=5">5</a>
<button command="toggle-popover" commandfor="before-last-popover" class="before-last-button" aria-label="ページ6から8を表示">…</button>
<span id="before-last-popover" class="before-last-popover" popover="auto">
<a href="https://example.com/?page=6">6</a>
<a href="https://example.com/?page=7">7</a>
<a href="https://example.com/?page=8">8</a>
</span>
<a href="https://example.com/?page=9" aria-label="最後のページ">9</a>
</p>
</nav>
<!-- https://example.com/?page=5 -->
<!-- 1 … 4 (5) 6 … 9 -->
<nav class="_pagination" aria-label="ページ送り">
<p>
<a href="https://example.com/" aria-label="最初のページ">1</a>
<button command="toggle-popover" commandfor="after-first-popover" class="after-first-button" aria-label="ページ2から3を表示">…</button>
<span id="after-first-popover" class="after-first-popover" popover="auto">
<a href="https://example.com/?page=2">2</a>
<a href="https://example.com/?page=3">3</a>
</span>
<a href="https://example.com/?page=4" aria-label="前のページ">4</a>
<a href="https://example.com/?page=5" aria-label="現在のページ" aria-current="page">5</a>
<a href="https://example.com/?page=6" aria-label="次のページ">6</a>
<button command="toggle-popover" commandfor="before-last-popover" class="before-last-button" aria-label="ページ7から8を表示">…</button>
<span id="before-last-popover" class="before-last-popover" popover="auto">
<a href="https://example.com/?page=7">7</a>
<a href="https://example.com/?page=8">8</a>
</span>
<a href="https://example.com/?page=9" aria-label="最後のページ">9</a>
</p>
</nav>
<!-- https://example.com/?page=9 -->
<!-- 1 … 5 6 7 8 (9) -->
<nav class="_pagination" aria-label="ページ送り">
<p>
<a href="https://example.com/" aria-label="最初のページ">1</a>
<button command="toggle-popover" commandfor="after-first-popover" class="after-first-button" aria-label="ページ2から4を表示">…</button>
<span id="after-first-popover" class="after-first-popover" popover="auto">
<a href="https://example.com/?page=2">2</a>
<a href="https://example.com/?page=3">3</a>
<a href="https://example.com/?page=4">4</a>
</span>
<a href="https://example.com/?page=5">5</a>
<a href="https://example.com/?page=6">6</a>
<a href="https://example.com/?page=7">7</a>
<a href="https://example.com/?page=8" aria-label="前のページ">8</a>
<a href="https://example.com/?page=9" aria-label="現在のページ" aria-current="page">9</a>
</p>
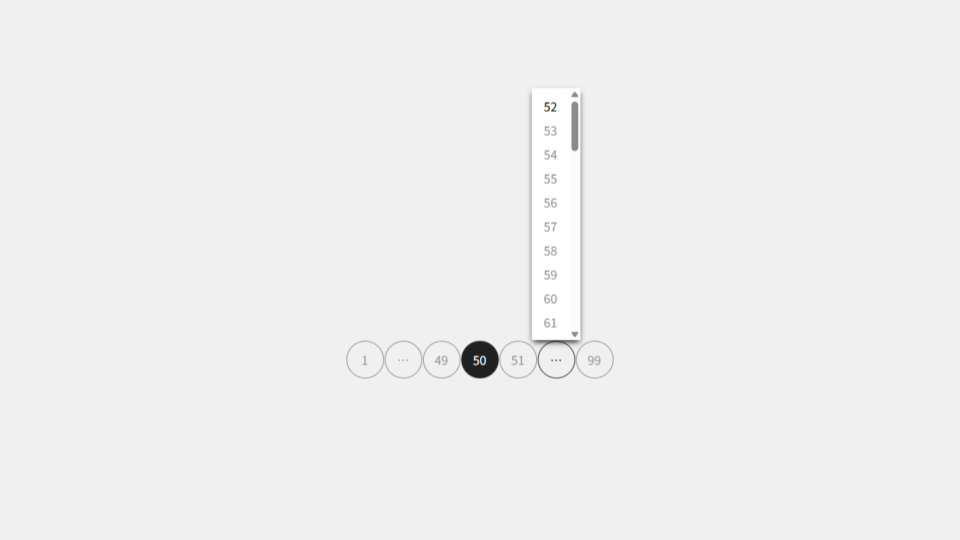
</nav>数字リンクと省略ボタン (…) しかないシンプルなページネーションです。省略ボタンは、隣接する省略されたリンクを内包するポップオーバーな span要素 を開閉します。これにより、シンプルでありながら、全てのページにアクセスできる実用性を兼ね備えたページネーションになっています。
ページネーションの CSS
._pagination p {
  /* ページネーション毎にスコープを持たせる */
  anchor-scope: all;

  /* リンクとボタンは横並び */
  display: flex;
  column-gap: 1px;

  /* 中央に配置 */
  inline-size: fit-content;
  max-inline-size: 100%;
  margin-inline: auto;

  a {
    color: inherit;
    display: block;
    text-align: center;
    text-decoration: none;

    /* 現在のページのリンクを無効化 */
    &[aria-current] {
      pointer-events: none;
    }

    /* 現在のページでもホバー状態でもフォーカス状態でもなければ不透明度を下げる */
    &:not([aria-current], :hover, :focus-visible) {
      opacity: 0.3;
    }
  }
  & > :is(a, button) {
    border: solid 1px;
    border-radius: 3em;
    box-sizing: content-box;
    inline-size: 3em;
    line-height: 3em;
  }
  & > button {
    appearance: none;
    background: none;
    color: inherit;
    cursor: pointer;
    display: block;
    font: inherit;
    margin: 0;
    padding: 0;

    /* 隣接するポップオーバーが閉じていてもホバー状態でもフォーカス状態でもなければ不透明度を下げる */
    &:not(:has(+ :popover-open), :hover, :focus-visible) {
      opacity: 0.3;
    }

    /* ボタンにアンカー名を付ける */
    &.after-first-button {
      anchor-name: --after-first-button;
    }
    &.before-last-button {
      anchor-name: --before-last-button;
    }
  }
  & > span {
    border: none;
    border-radius: 2px;
    box-shadow: 0 4px 8px -2px;
    margin: 1px;
    max-block-size: 50dvb;
    max-inline-size: 50dvi;
    overflow: auto;
    overscroll-behavior: contain;
    padding-block: 0.5em;
    padding-inline: 0;
    position: fixed;
    inset: auto;

    /* 画面上部にスペースがあればボタン (●) の上部に開く
    ■■■
    □●□
    □□□
    */
    position-area: block-start span-all;

    /* 画面下部にスペースがあればボタン (●) の下部に開く
    □□□
    □●□
    ■■■
    */
    position-try-fallbacks: block-end span-all;

    /* ポップオーバーとボタンを関連付ける */
    &.after-first-popover {
      position-anchor: --after-first-button;
    }
    &.before-last-popover {
      position-anchor: --before-last-button;
    }

    & > a {
      line-height: 1em;
      padding-block: 0.5em;
      padding-inline: 1em;
    }
  }
}
ポップオーバーは通常、画面中央に position: fixed; で表示されます。これを、隣接する省略ボタンの上部か下部に表示されるようアンカーポジショニングで設定します。
ページネーションの PHPコード
ページネーションは「最後のページ」と「現在のページ」と「リンクするURL」さえ分かれば、比較的簡単に出力させることができます。PHPコード を例にしていますが、JavaScript などの他のプログラミング言語に応用したり、WordPress のような CMS に組み込むこともできると思います。
function pagination( $last, $current ) {
  // $last と $current を整数にキャスト
  $last = (int) $last;
  $current = (int) $current;

  // 最後のページが2未満、現在のページが1未満か最後のページより多い場合は終了
  if ( $last < 2 || $current < 1 || $last < $current ) {
    return '';
  }

  // 現在のページから前と次のページを作る
  $prev = $current - 1;
  $next = $current + 1;

  // 出力用の配列
  $outputs = [];

  // 最初のページへのリンク
  // 最初のページに戻りやすくする
  // 現在のページが最初のページでなければ必ず出力
  if ( 1 !== $current ) {
    $outputs[] = '<a href="https://example.com/" aria-label="最初のページ">1</a>';
  }

  // 1 と $prev の間のリンクを生成
  // $last が 9 の例:
  //   $current が 1~3 の場合: 1  2  3  4  5        … 9 (なし)
  //   $current が 4   の場合: 1 (2) 3  4  5        … 9
  //   $current が 5   の場合: 1 (…)   4  5  6     … 9
  //   $current が 6   の場合: 1 (…)      5  6  7  8  9
  //   $current が 7   の場合: 1 (…)     (5) 6  7  8  9
  //   $current が 8   の場合: 1 (…)     (5)(6) 7  8  9
  //   $current が 9   の場合: 1 (…)     (5)(6)(7) 8  9
  $before_prev = $prev - 1;
  if ( 2 <= $before_prev ) {
    // 省略するリンクを生成
    // $last が 9 の例:
    //   $current が 1~4 の場合: 1  2  3  4  5        … 9 (なし)
    //   $current が 5   の場合: 1 (…)   4  5  6     … 9
    //   $current が 6~9 の場合: 1 (…)      5  6  7  8  9
    $start = 2;
    if ( 2 !== $before_prev && 4 < $current && 7 < $last ) {
      $end = min( $before_prev, $last - 5 );

      // 1つのページに複数のページネーションがある場合を想定してユニークなIDを取得
      $uniqid = uniqid( 'after-first-popover-' );

      $outputs[] = '<button command="toggle-popover" commandfor="' . $uniqid . '" class="after-first-button" aria-label="' . sprintf( 'ページ%1$dから%2$dを表示', $start, $end ) . '">…</button>';
      $outputs[] = '<span id="' . $uniqid . '" class="after-first-popover" popover="auto">';
      for ( $i = $start; $i <= $end; ++$i ) {
        $outputs[] = '<a href="https://example.com/?page=' . $i . '">' . $i . '</a>';
      } // for
      $outputs[] = '</span>';
      $start = $end + 1;
    }

    // 数合わせリンクを生成
    // $last が 9 の例:
    //   $current が 1~3 の場合: 1  2  3  4  5        … 9 (なし)
    //   $current が 4   の場合: 1 (2) 3  4  5        … 9
    //   $current が 5   の場合: 1 …     4  5  6     … 9 (なし)
    //   $current が 6   の場合: 1 …        5  6  7  8  9 (なし)
    //   $current が 7   の場合: 1 …       (5) 6  7  8  9
    //   $current が 8   の場合: 1 …       (5)(6) 7  8  9
    //   $current が 9   の場合: 1 …       (5)(6)(7) 8  9
    if ( $start <= $before_prev ) {
      for ( $i = $start; $i <= $before_prev; ++$i ) {
        $outputs[] = '<a href="https://example.com/?page=' . $i . '">' . $i . '</a>';
      } // for
    }
  }

  // 前のページに戻るリンク
  // 前のページが最初のページでなければ必ず出力
  if ( 1 < $prev ) {
    $outputs[] = '<a href="https://example.com/?page=' . $prev . '" aria-label="前のページ">' . $prev . '</a>';
  }

  // 現在のページへのリンク
  // 現在のページを把握してもらう
  $current_url = ( 1 === $current ) ? 'https://example.com/' : 'https://example.com/?page=' . $current;
  $outputs[] = '<a href="' . $current_url . '" aria-label="現在のページ" aria-current="page">' . $current . '</a>';

  // 次のページに進むリンク
  // 次のページが最後のページでなければ必ず出力
  if ( $next < $last ) {
    $outputs[] = '<a href="https://example.com/?page=' . $next . '" aria-label="次のページ">' . $next . '</a>';
  }

  // $next と $last の間のリンクを生成
  // $last が 9 の例:
  //   $current が 1   の場合: 1  2 (3)(4)(5)     (…) 9
  //   $current が 2   の場合: 1  2  3 (4)(5)     (…) 9
  //   $current が 3   の場合: 1  2  3  4 (5)     (…) 9
  //   $current が 4   の場合: 1  2  3  4  5      (…) 9
  //   $current が 5   の場合: 1 …     4  5  6   (…) 9
  //   $current が 6   の場合: 1 …        5  6  7 (8) 9
  //   $current が 7~9 の場合: 1 …        5  6  7  8  9 (なし)
  $after_next = $next + 1;
  $before_last = $last - 1;
  if ( $after_next <= $before_last ) {
    // 数合わせリンクを生成
    // $last が 9 の例:
    //   $current が 1   の場合: 1  2 (3)(4)(5)       … 9
    //   $current が 2   の場合: 1  2  3 (4)(5)       … 9
    //   $current が 3   の場合: 1  2  3  4 (5)       … 9
    //   $current が 4   の場合: 1  2  3  4  5        … 9 (なし)
    //   $current が 5   の場合: 1 …     4  5  6     … 9 (なし)
    //   $current が 6   の場合: 1 …        5  6  7 (8) 9
    //   $current が 7~9 の場合: 1 …        5  6  7  8  9 (なし)
    $start = $after_next;
    if ( $after_next === $before_last || $current - 4 < 0 || $last <= 7 ) {
      $end = ( 7 < $last && $current - 4 < 0 ) ? 5 : $before_last;
      for ( $i = $start; $i <= $end; ++$i ) {
        $outputs[] = '<a href="https://example.com/?page=' . $i . '">' . $i . '</a>';
      } // for
      $start = $end + 1;
    }

    // 省略するリンクを生成
    // $last が 9 の例:
    //   $current が 1~4 の場合: 1  2  3  4  5      (…) 9
    //   $current が 5   の場合: 1 …     4  5  6   (…) 9
    //   $current が 6~9 の場合: 1 …        5  6  7  8  9 (なし)
    if ( $start < $before_last ) {
      // 1つのページに複数のページネーションがある場合を想定してユニークなIDを取得
      $uniqid = uniqid( 'before-last-popover-' );

      $outputs[] = '<button class="before-last-button" commandfor="' . $uniqid . '" command="toggle-popover" aria-label="' . sprintf( 'ページ%1$dから%2$dを表示', $start, $before_last ) . '">…</button>';
      $outputs[] = '<span id="' . $uniqid . '" class="before-last-popover" popover="auto">';
      for ( $i = $start; $i <= $before_last; ++$i ) {
        $outputs[] = '<a href="https://example.com/?page=' . $i . '">' . $i . '</a>';
      } // for
      $outputs[] = '</span>';
    }
  }

  // 最後のページへのリンク
  // 総ページ数を把握してもらう
  // 現在のページが最後のページでなければ必ず出力
  if ( $current !== $last ) {
    $outputs[] = '<a href="https://example.com/?page=' . $last . '" aria-label="最後のページ">' . $last . '</a>';
  }

  return '<nav class="_pagination" aria-label="ページ送り"><p>' . implode( ' ', $outputs ) . '</p></nav>';
}
「最初のページ」と「前のページ」の間と、「次のページ」と「最後のページ」の間は少し複雑なことをしています。単純に省略ボタンを表示させるだけなら、もっと簡単にできます。
…
$before_prev = $prev - 1;
if ( 2 <= $before_prev ) {
  $uniqid = uniqid( 'after-first-popover-' );
  $label = ( 2 === $before_prev ) ? sprintf( 'ページ%dを表示', 2 ) : sprintf( 'ページ%1$dから%2$dを表示', 2, $before_prev );
  $outputs[] = '<button command="toggle-popover" commandfor="' . $uniqid . '" class="after-first-button" aria-label="' . $label . '">…</button>';
  $outputs[] = '<span id="' . $uniqid . '" class="after-first-popover" popover="auto">';
  for ( $i = 2; $i <= $before_prev; ++$i ) {
    $outputs[] = '<a href="https://example.com/?page=' . $i . '">' . $i . '</a>';
  } // for
  $outputs[] = '</span>';
}
…
$after_next = $next + 1;
$before_last = $last - 1;
if ( $after_next <= $before_last ) {
  $uniqid = uniqid( 'before-last-popover-' );
  $label = ( $after_next === $before_last ) ? sprintf( 'ページ%dを表示', $after_next ) : sprintf( 'ページ%1$dから%2$dを表示', $after_next, $before_last );
  $outputs[] = '<button class="before-last-button" commandfor="' . $uniqid . '" command="toggle-popover" aria-label="' . $label . '">…</button>';
  $outputs[] = '<span id="' . $uniqid . '" class="before-last-popover" popover="auto">';
  for ( $i = $after_next; $i <= $before_last; ++$i ) {
    $outputs[] = '<a href="https://example.com/?page=' . $i . '">' . $i . '</a>';
  } // for
  $outputs[] = '</span>';
}
…
この場合、現在のページが何ページ目かでリンクとボタンの数が変わってしまいます。
| 前のページ | 現在のページ | 次のページ | ページネーション | リンクとボタンの数 |
|---|---|---|---|---|
| 1 | 2 | 1 2 … 9 | 4 | |
| 1 | 2 | 3 | 1 2 3 … 9 | 5 |
| 2 | 3 | 4 | 1 2 3 4 … 9 | 6 |
| 3 | 4 | 5 | 1 … 3 4 5 … 9 | 7 |
| 4 | 5 | 6 | 1 … 4 5 6 … 9 | 7 |
| 5 | 6 | 7 | 1 … 5 6 7 … 9 | 7 |
| 6 | 7 | 8 | 1 … 6 7 8 9 | 6 |
| 7 | 8 | 9 | 1 … 7 8 9 | 5 |
| 8 | 9 | 1 … 8 9 | 4 |
そこで、リンクとボタンの数が最大で7つに揃うよう、数合わせリンクを出力する処理を加えています。
CodePen
〆
よくある「<<」「<」「>」「>>」といったリンク、クリックしても反応しない「…」などにモヤモヤしながら、長年、ページネーションの最適解を模索してきましたが、これが決定版になりそうです。
関連記事
- CSSでチェックボックスとラジオボタンのデザインを変更する方法
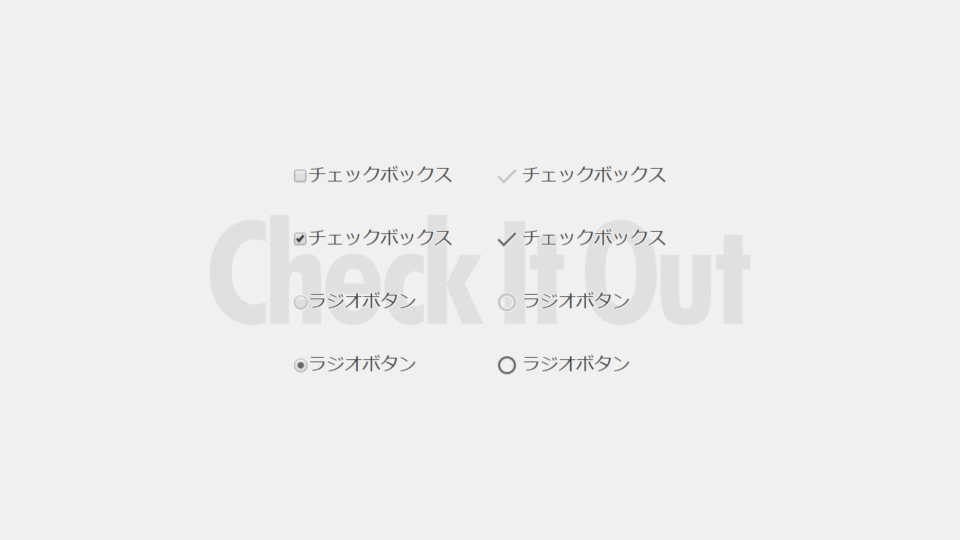 ブラウザ毎に異なるデザインでCSSによるデザインが不可能なチェックボックスとラジオボタンに、独自のデザインを設定する方法をご紹介します。
 - カスタムプロパティ (CSS変数) を使った爆速レイアウト術
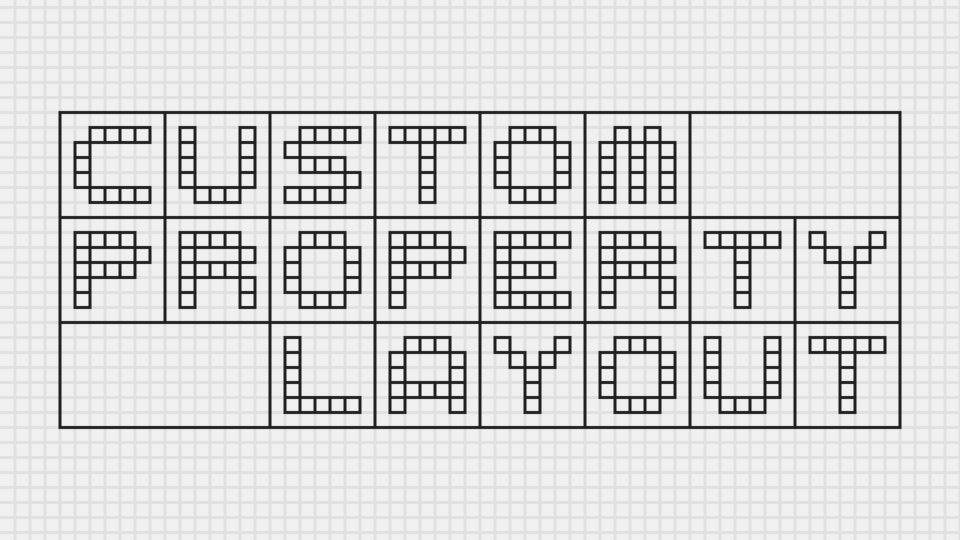 カスタムプロパティ (CSS変数) とHTMLのstyle属性を組み合わせた、軽量・柔軟・汎用的と3拍子揃った速攻でマネできる爆速レイアウト術を紹介しています。
 - NULLなCSS変数によるCSSグリッドレイアウト
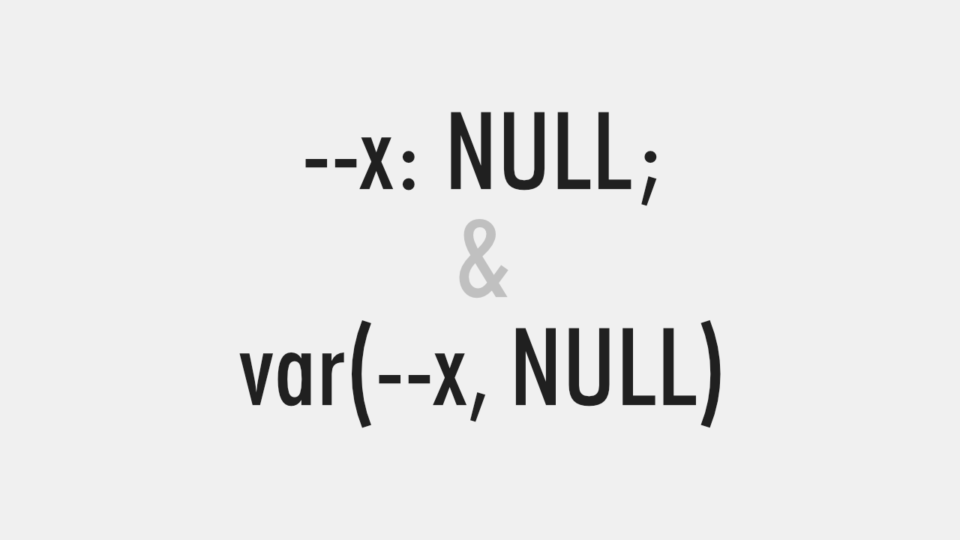 CSS変数 (カスタムプロパティ) に NULL (値なし) を設定して、柔軟性と拡張性のあるCSSグリッドレイアウトを実現する方法を紹介しています。
 - 数列を使用して数学的に設定するCSSのfont-size
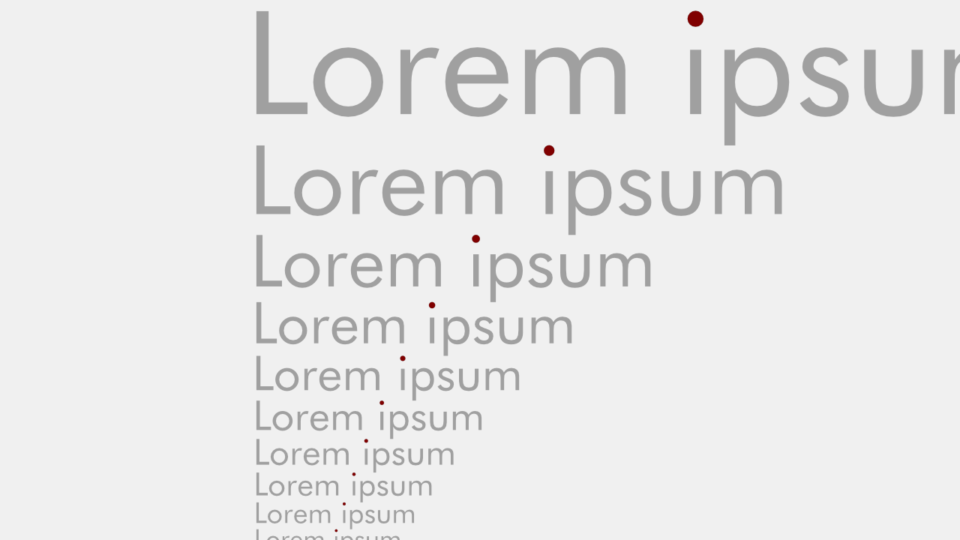 ウェブデザインにおいて欠かせない文字組 (タイポグラフィ) ですが、フォントサイズはどのように決めていますか?今回は、フィボナッチ数列、等比数列、等差数列、階差数列、調和数列を使用して、数学的に作られたフォントサイズ一覧を紹介しています。